Bike brake pad wear: when to replace and how to check
Disc or rim, minimum thickness, glazing: what to watch for
·6 min read
Brake pads: the fastest-wearing part of your braking system
Pads wear out faster than anything else on the brake side, and they're the part most riders notice too late. As long as the bike still slows down, it feels fine. The catch is that a pad reaching end-of-life doesn't just brake worse - it can score the rotor or the rim, and that's when the bill jumps.
A new pad is roughly 4 mm thick total: ~3 mm of friction material on a ~1 mm metal backing plate. Once you have less than 0.5 mm of friction left (about 1.5 mm overall, the threshold Shimano and SRAM both call out), what's biting is essentially the backing plate. On disc, that turns a 20 EUR pair of pads into a 40 EUR rotor. On rim brakes, it's the rim itself you're trashing.
Disc or rim: two completely different jobs
Before talking wear, you need to know what you're looking at. The two systems share almost nothing maintenance-wise.
- Rim brakes (V-brake, caliper): rubber pad or cartridge that grips the side of the rim. The rim is the braking surface - a worn rim has to be replaced, and that means a new wheel.
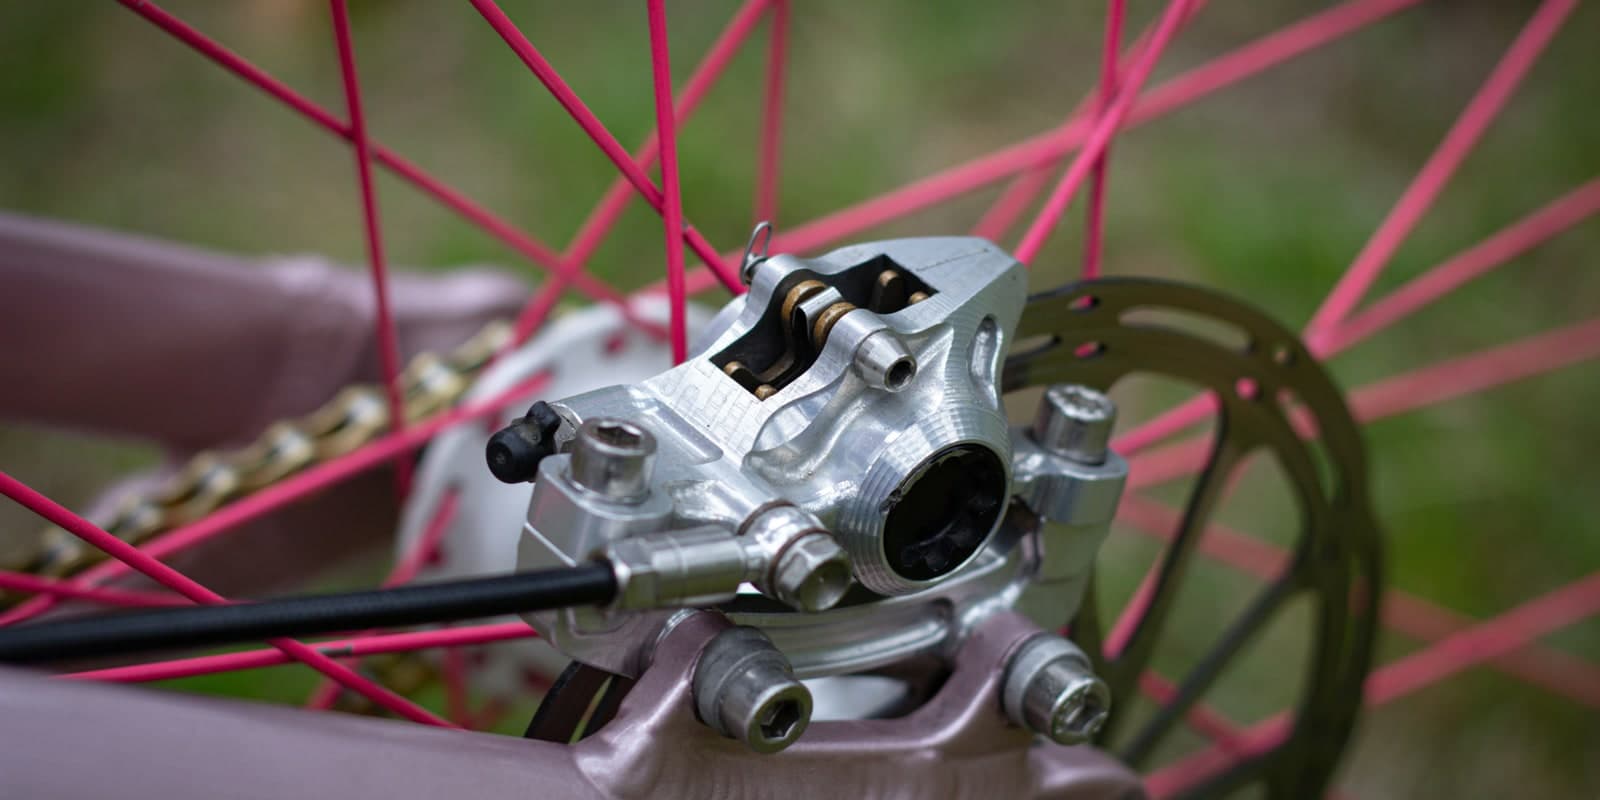
- Disc brakes: pad inside a caliper that squeezes a rotor bolted to the hub. The wearing surface is the rotor, replaced independently from the wheel.
On disc brakes, three pad families based on friction material: organic (resin), sintered (metallic), and semi-metallic. Organic bites fast cold, runs quiet, but wears faster and dislikes long-descent heat. Sintered lasts longer and handles heat well, but it's louder and needs to warm up to bite. Semi-metallic splits the difference. For city or road use, organic is fine. For aggressive MTB, loaded gravel, or long descents, semi or sintered are safer.
Minimum thickness: when you're in the red
No "replace when it feels off". Three concrete criteria, to check visually each time you clean the bike.
- Disc: 0.5 mm of friction material minimum, which means a total pad thickness around 1.5 mm including the backing (Shimano/SRAM threshold, sometimes engraved on the side). Below that, replace. Use a caliper or eyeball it through the gap between the caliper bridges.
- Rim: wear indicator. Most pads have a witness groove moulded into the rubber. Once it disappears, you're done. On pads without an indicator, replace when the thinnest spot drops below ~1 mm.
- Contamination: chain oil, grease, degreaser, leaked brake fluid. A soaked pad can't be cleaned (the term is "glazed in") - replace, no negotiation.
On disc brakes, also check the rotor thickness itself - a separate measurement from the pad. The minimum is usually engraved on the rotor (1.5 mm for Shimano, 1.55 mm for SRAM). Below that, the rotor overheats and warps, so it gets replaced too.
Symptoms that should put you on alert
Before reaching for the calipers, there's usually a warning sign. Four typical ones.
- High-pitched noise (squeal, whistle): can come from glazing, contamination, or a worn pad scraping metal. Not always a wear sign, but worth a look.
- Loss of bite: lever pulls further for the same braking, stopping distance grows. If the pads look fine, check for glazing or contamination before swapping.
- Glazing: the friction surface becomes smooth and shiny, like vitrified. Often after a long descent with continuous braking. A pass of fine sandpaper can rescue the pad - otherwise, replace.
- Vibration under braking: warped rotor, uneven pads, or a poorly torqued caliper. Pull it apart and inspect before ordering anything.
How to replace your pads
Before ordering: identify the model. On disc, each brand has its own shape - Shimano (codes like B01S, G02S, L02A depending on the caliper), SRAM/Avid, Magura, Hope, TRP. A photo of the old pad or the part number stamped on the side is safer than memory. On rim brakes, V-brake and caliper pads aren't interchangeable, and some screw in while others clip into cartridges.
On disc brakes, the sequence is always the same: drop the wheel, remove the pin or clip holding the pads, pull the old pair out with its spring. Before inserting the new ones, push the pistons fully back into the caliper (use a dedicated tool or a flat screwdriver pressing on the old pad). Slide the new pair in with its spring, replace the pin, refit the wheel. Pump the lever 5 to 10 times to bring the pistons back against the pads - it's normal for it to feel soft on the first pulls. If after that the lever still feels soft or pulls too close to the bar, it's most likely a hydraulic bleed issue, a separate topic.
On rim brakes it's simpler: open the brake (lift the V-brake arm, use the caliper quick-release lever), undo the pad nut, slide the pad out of its holder or swap the cartridge, refit while keeping the alignment correct (the pad should hit the rim square, never bite the tyre) with about 1 mm of toe-in at the front to keep it quiet.
Bedding-in is the step most people skip and later regret. 30 to 40 progressive stops on a flat road where you can build up to 25-30 km/h between each stop and slow back down to ~10 km/h without coming to a halt, to lay a transfer layer onto the rotor or rim. At urban speeds capped at 15 km/h, the bedding-in just doesn't take. Skip it entirely and the bite feels weak for the first rides, with a higher risk of glazing.
Two reflexes: never touch new friction material with your fingers, and don't spray degreaser anywhere near the caliper. A pad contaminated before its first ride is the most annoying mistake there is.
What we see on ChainLog
From our current user base - still small - pads are one of the components with the widest spread. Lifespan depends as much on riding style and weather as on the pad type itself.
Some early ranges we're seeing:
- Organic disc pads on dry road: often 2,000 to 4,000 km, sometimes more for lighter riders who use the brakes sparingly.
- Sintered or semi pads on MTB/gravel: 1,500 to 3,500 km, but it can drop to 500 km through a muddy winter.
- Rim pads on dry road: 3,000 to 8,000 km, divided by 3 or 4 as soon as you ride regularly in the rain.
These are early observations (likely selection bias - ChainLog users are probably more maintenance-conscious than average). Use them as a reference point, not a rule. The minimum thickness check still wins.
Automatic tracking, so you don't get caught out
Pads are the classic part you forget to check. They wear slowly, you adapt to a braking that's getting weaker, and you notice the day you hear metal on rotor.
ChainLog tracks kilometres per component and alerts you before that point. Not as a replacement for the visual check - minimum thickness is still what counts - but as a reminder to actually look.
Not a perfect measurement. Just a regular nudge, enough to never score a rotor by mistake.
Track brake pad and component wear automatically.
Question about your brake pads or any other component? contact@chainlog.app