How to check and replace your bike chain
Check wear and replace at the right time, without wrecking your cassette.
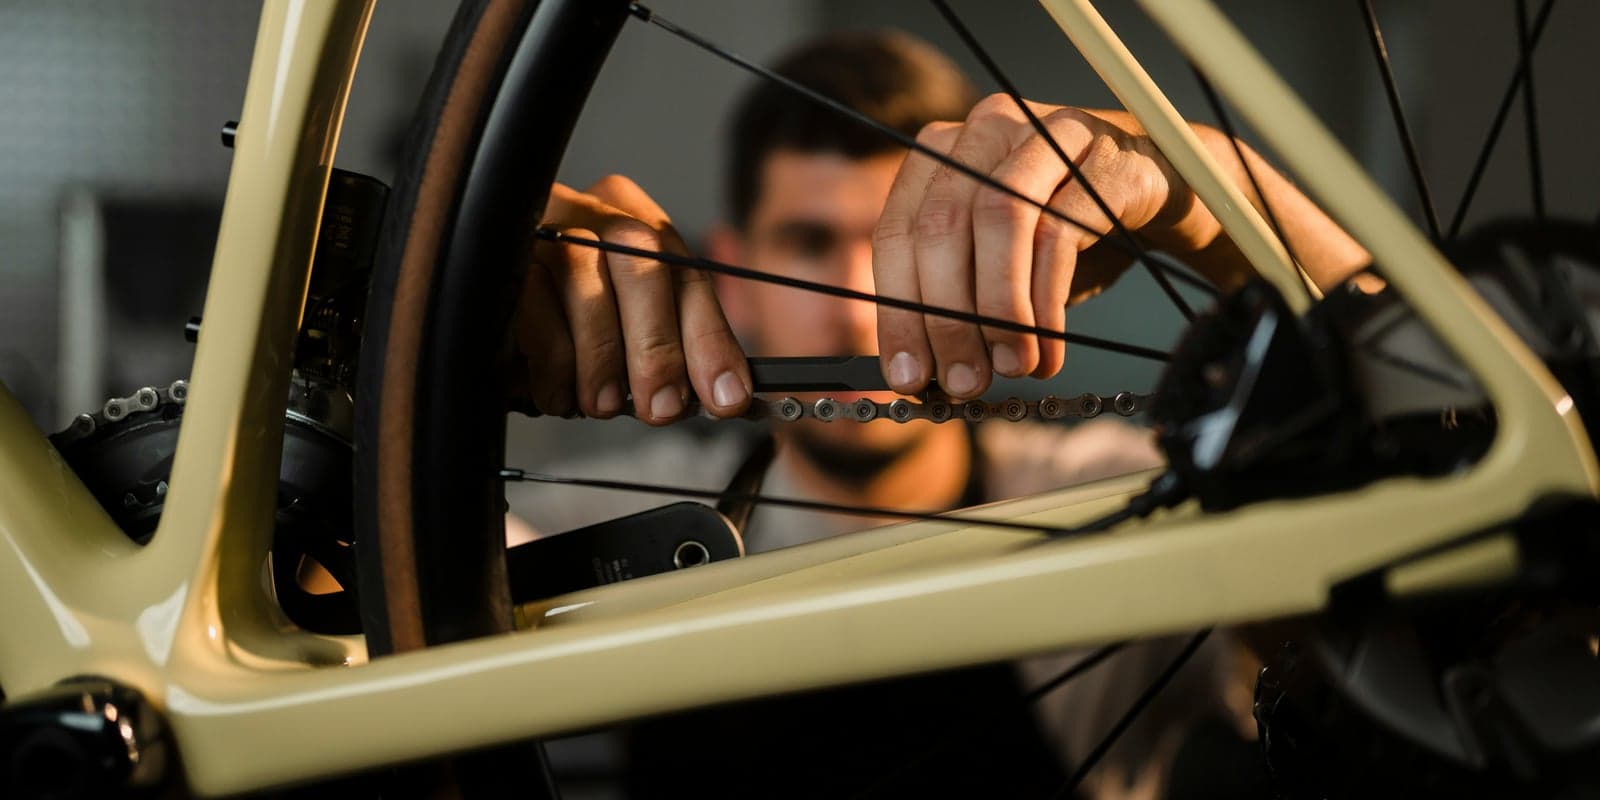
A chain is 100 to 120 links rubbing together with every pedal stroke. Replaced on time, it's €30. Ignored for a few hundred kilometres, it's €150 more in cassette and chainrings. Here's how to check wear, and replace it yourself in twenty minutes.
- New chain (right speed count)
- Chain tool (~€15)
- Compatible quick link
- Rag
Why chains wear out
Kilometre after kilometre, the pins erode and the chain gets longer. What people call "stretch" isn't really stretching: it's play that develops between each pin and each roller.
As it lengthens, the chain no longer meshes properly with the teeth and carves its own grooves. The cassette wears fast, and a brand new chain ends up skipping on it. Which is why you measure regularly.
How to monitor wear
One method measures actual wear, the other predicts when to check. They complement each other.
| Method | Accuracy | Cost |
|---|---|---|
| Chain checker | Excellent | €5–15 |
| Mileage tracking | Approximate | Free |
On the checker: 0.5% the chain is tiring, 0.75% replace it, 1% the cassette is probably cooked. Mileage tracking doesn't measure the chain: it predicts when to check (ChainLog alerts around 3,000 km by default).
When should you actually replace it?
Simple rule: replace the chain as soon as it passes 0.75% on the checker. Below that, it's still doing its job. Above, every extra kilometre eats into the cassette.
And if you're already past? Two scenarios:
- Checker between 0.75% and 1%: replace the chain alone, ride 100 km, check the new one doesn't skip under load. If all good, you got away with it.
- Checker past 1%, or a new chain that skips: the cassette needs replacing too. Chainrings often survive one more cycle, but not always.
In practice, on a well-tracked road bike you'll replace the chain 2 or 3 times before the cassette. On an MTB or weather-exposed commuter, the ratio can drop to 1:1.
Replacing your chain, step by step
With basic tools, the swap takes about twenty minutes.
- 1
Check the speed count
An 11sp chain won't fit 12sp. The count is engraved on your cassette or listed in the bike specs.
- 2
Measure the right length
Lay the new chain next to the old one on a flat surface and cut to the same number of links with the chain tool.
TipFrom scratch: big ring + big sprocket + 2 links, without routing through the derailleur. - 3
Respect the install direction
Most modern chains (Shimano 11–12sp, SRAM) have a direction. Engraved logos must stay visible from outside the bike.
- 4
Fit the quick link by hand
Engage both half-links, then bring the link into position before locking it.
- 5
"Pop" the quick link
Rear brake held, press hard on the pedals. It should click crisply and sit perfectly flush with the rest of the chain.
- 6
Note the link: single-use or reusable
SRAM PowerLock and Shimano Quick-Link 11/12sp are single-use, throw them away after removal. KMC Missing Links are reusable. Check the packaging.
The default intervals we recommend
A cautious starting point, adjustable in each bike's settings.
| Component | Interval |
|---|---|
| Chain | 3,000 km |
| Cassette | 5,000 km |
Deliberately conservative: from 2,000 km (muddy winter MTB) to over 5,000 km (dry, well-maintained road bike), real life varies wildly. Good lube and regular cleaning can double a chain's life.
Automatic tracking, so you don't have to think about it
Pulling out a chain checker every month on every bike: in real life, nobody does that. What works: get reminded at the right time, and only then pull out the tool to confirm.
ChainLog counts kilometres and alerts you when the chain nears the threshold. You check, replace if needed, log it in the app, and the counter resets.
Track your chain's wear
Never miss the right moment to replace your chain, and keep the history for resale.
Try ChainLog