Bike tire wear: when to replace and how to check tire age
Wear indicator, cracks, DOT code: a tire ages even sitting in the garage
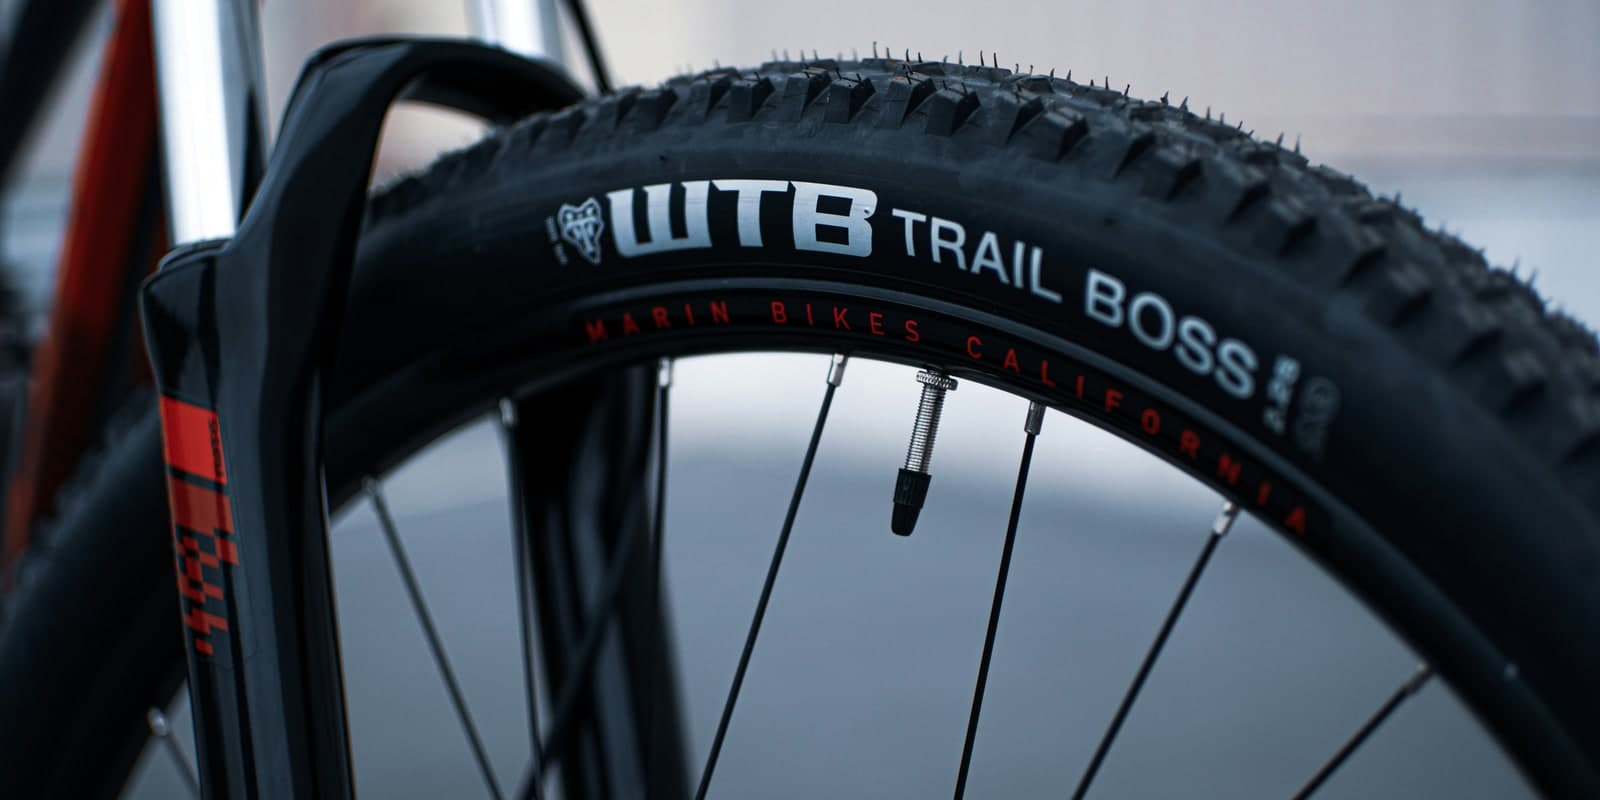
It's the only part of the bike that touches the ground, and it's also the one most riders inspect the least. As long as you ride without flatting, it feels fine. The catch is that a worn tire doesn't always warn you with a puncture - it sometimes warns with a blowout mid-corner.
- New tire (right rotation)
- 2 tire levers
- Inner tube or sealant (tubeless)
- Pump
Tires: the part you check the least
What's specific about tires: two kinds of wear stack up. Mechanical wear - kilometres, tread fading - and rubber aging - UV, ozone, oxidation. A lightly ridden tire is not a new tire: it can be due for replacement on age alone with only 1,500 km on it.
Visual indicators of mechanical wear
Three things to look at every time you clean the bike. The more worn the tire, the faster you spot them.
- Wear indicator: most brands (Continental, Schwalbe, Michelin, Vittoria) mould small holes or markers into the tread. Once they're no longer visible, the tire is slick - replace. On some models a different rubber colour appears underneath instead.
- Tread depth (MTB/gravel): look at the knobs. When they're rounded off or sliced sideways (in the rolling direction), grip on loose surfaces collapses.
- Centre flattening (road): the centre strip (the part hitting the ground when riding straight) wears faster than the shoulders. Once a visible flat spot appears, braking on wet drops and cornering grip slips. It's the most reliable replacement signal on a road tire.
On a tire without a visible wear indicator, the simple rule: if the rubber is slick where it wasn't slick when new, it's done.
Defects that mean replace right now
Beyond gradual wear, some defects end the discussion - you don't ride on it.
- Deep cut: a slice that exposes the casing (the white threads under the rubber) is over. The tube will pop through there at the next high pressure.
- Bulge (hernia): a visible bump on the sidewall or tread means the casing has failed under the rubber. That's a programmed blowout. Replace today.
- Casing threads showing: on a heavily worn tire, threads start coming out of the rubber. The tire is disintegrating - replace immediately.
- Repeated punctures in the same spot: if you've patched the same area more than once, there's a local casing defect. The tire won't last much longer.
A tire with any of these defects isn't worth haggling over. Even at 50 EUR, you don't gamble on a blowout at 60 km/h on a descent.
Rubber age: the trap when you ride little
Classic trap. You've got a bike you ride twice a month, you've done 800 km in three years, you assume the tires are like new. Except rubber ages on its own, especially exposed to light, summer garage heat, or humidity.
Manufacturer rule (Continental, Schwalbe): from 5 to 7 years onwards, monitor closely and replace as soon as cracks appear, even on a lightly used tire. The real signal is fine cracks on the sidewalls or between knobs - regardless of stated age, if they show up, you replace.
Five factors that accelerate aging:
- Chronic under-inflation: riding consistently below recommended pressure deforms the tire, overheats the rubber and wears the sidewalls twice as fast. It's the most common wear accelerator after sheer mileage.
- UV: sunlight degrades rubber. A bike stored outside or near a window ages twice as fast.
- Ozone: urban air near traffic attacks rubber. Not a major cause, but it adds up over time.
- Heat: a garage hitting 30 °C+ in summer accelerates hardening.
- Humidity: a damp garage promotes sidewall micro-cracking.
By that point, grip has dropped (especially in the wet) and blowout risk climbs sharply. Not the topic to dither on.
How to read the manufacturing date (DOT code)
On most industrial bike tires (Continental, Schwalbe, Michelin, Vittoria, Maxxis), a 4-digit code on the sidewall shows the manufacturing week and year. Sometimes preceded by "DOT" depending on the brand, sometimes missing entirely on tires from less industrial makers. It's the most valuable info when buying a used bike - or just checking your own tires.
Format: WWYY. The first two digits = week (01 to 52). The last two = year. Examples: 1224 = week 12 of 2024 (March 2024). 4519 = week 45 of 2019 (November 2019). If the code is only 3 digits, the tire predates 2000 - too old to ride, regardless of how it looks.
On a used bike, checking this code before purchase saves a lot of bad surprises. A 5+ year old tire warrants a close look at the sidewalls and tread, even if it appears new at first glance. And it's a negotiating point on the price.
Changing a tire, step by step
Once you've done it a few times, the swap takes about fifteen minutes.
- 1
Deflate and remove the tire
Deflate fully, pinch the tire to unseat the bead, then slip a lever under the bead and run a second one around to free one side.
- 2
Check the rotation direction
Most tires have a "rotation" arrow on the sidewall. Fit them the right way, especially the rear where it matters for traction.
- 3
Mount the first bead
Seat one bead into the rim by hand, starting opposite the valve and finishing at it - that's the easy way.
- 4
Install the tube (or sealant)
Lightly inflated, tuck the tube into the tire starting at the valve. For tubeless, pour in the sealant and mount the second bead dry.
- 5
Seat the second bead
Push the bead into the rim by hand, finishing at the valve. Avoid levers here - you risk pinching the tube.
TipIf the last section won't go, push the whole bead into the rim's central channel to gain some slack. - 6
Inflate and check the seating
Inflate to the pressure marked on the sidewall. Check the bead's guide line sits evenly all the way around. On tubeless, a fast inflation helps the bead pop into place.
What we see on ChainLog
From our user base, two profiles clearly emerge when looking at tire lifespan. High-mileage riders replace their rear tires between 3,000 and 6,000 km, depending on weight, road vs gravel, and weather. Low-mileage urban riders doing 100 to 200 km per month rarely replace for wear - more often for age or repeated punctures.
Some early ranges we're seeing:
- Road rear tire (training-grade, GP5000 type dominant in our base) on dry road: 4,000 to 6,000 km, sometimes up to 8,000 km for lighter riders.
- Road front tire: 1.5 to 2x the rear tire lifespan (the rear wears faster because it carries 60-65% of the weight).
- MTB/gravel tire depending on use: 1,500 to 4,000 km, halved as soon as you ride mud regularly.
- Urban commuter tire: 2,000 to 5,000 km, but more often replaced for punctures than for outright wear.
These are early observations (likely selection bias - ChainLog users are probably more maintenance-conscious than average). Use them as a reference point, not a rule. The visual check still wins.
Automatic tracking, so you don't get caught out
Tires are the part most riders lose track of. You replace the chain, cassette, brake pads - but tires, you let them roll until a flat forces your hand. Predictable wear and rubber age can both be spotted well in advance.
ChainLog tracks kilometres and install date for each tire. The alert comes before terminal wear, where you'd otherwise let it roll out of habit.
Not a perfect measurement. Just a regular nudge, enough to never ride an 8-year-old tire that looked OK.