Bike cables and housing: when to replace and how to feel it coming
Sluggish shifting, spongy brakes, a frayed cable: the signs and the benchmarks
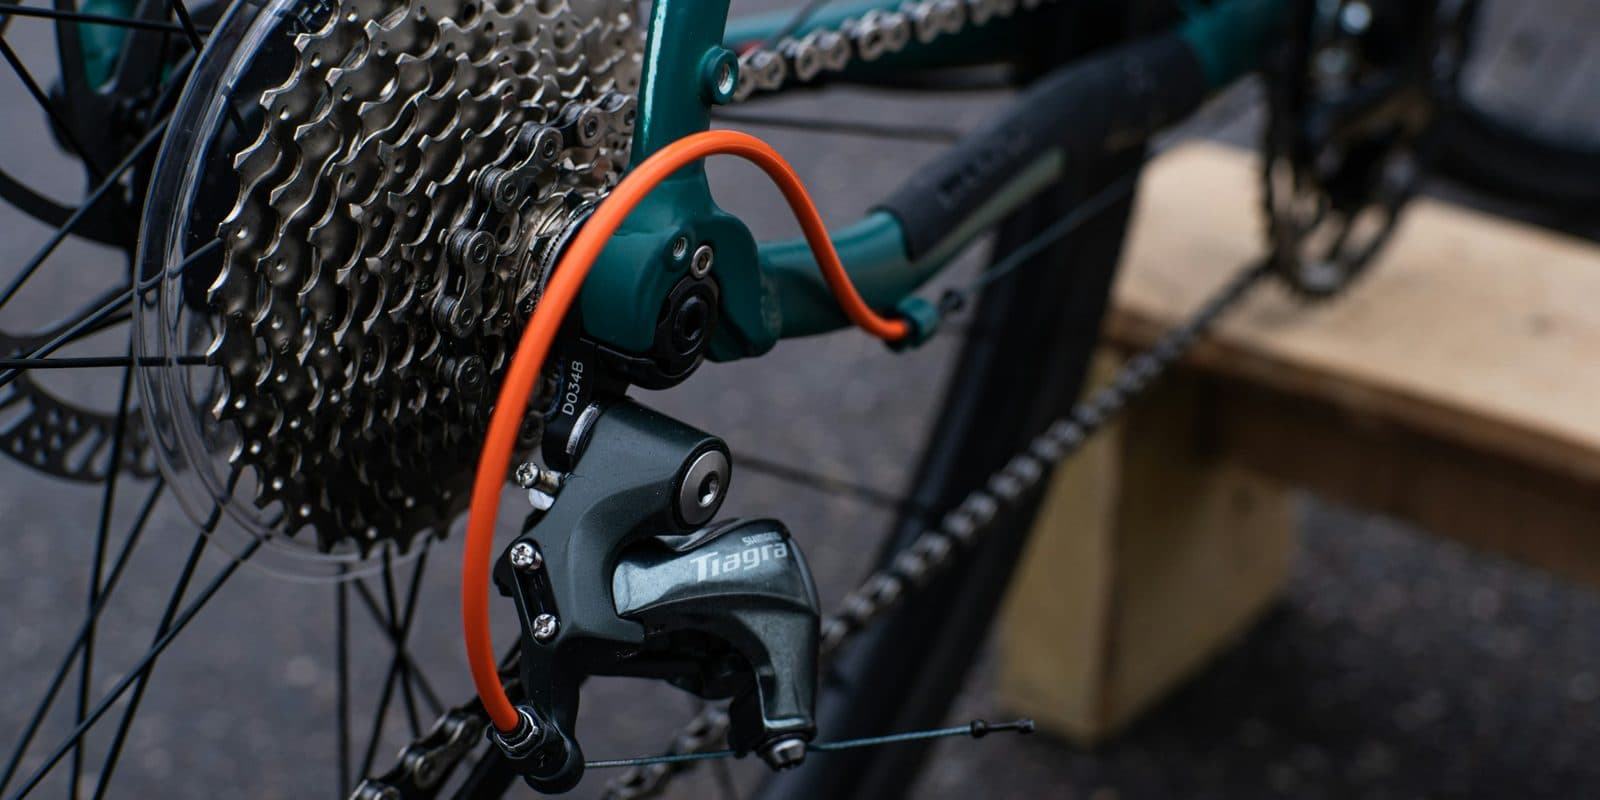
This is the part you forget because it never fails outright. A cable and its housing degrade quietly: shifting goes soft, the brake gets heavier, and you adapt without noticing. The day you re-cable, you rediscover a bike you thought you knew.
- New cables + housing (right type)
- Cable cutter
- Ferrules and cable end caps
- Allen keys
- Pliers
The cable and the housing: the pair you forget
A cable is the braided steel wire that carries your input: pulling the brake lever, clicking the shifter. The housing is the tube that guides it and gives it something to push against. Both work together, and both wear out, slowly, through friction, corrosion and dirt.
The catch is precisely that nothing snaps cleanly. The housing compresses and cracks from the inside, the cable frays strand by strand and rusts at damp spots. Resistance builds gradually, you compensate without realising, and the decline goes unnoticed until you re-cable.
Mechanical or not: make sure this is your problem
First, check your bike actually uses cables. Two recent technologies don't, and this job doesn't apply to them.
- Electronic shifting (Shimano Di2, SRAM AXS): no shift cable. The lever sends a signal to the derailleur. Nothing to re-cable on the shifting side.
- Hydraulic disc brakes: no brake cable, but a hose filled with fluid. There, the maintenance is a bleed and brake fluid. A different topic.
Still concerned: any mechanical drivetrain (the lever pulls a cable) and any cable-actuated brake (rim pads, or mechanical disc). If you click a lever and a cable moves, this article is for you.
Shift or brake: two cables not to mix up
Shift and brake cables aren't interchangeable. Neither the cables nor the housing.
- Shift cable: thin (1.1 to 1.2 mm), with a cylindrical head. Its housing is "compressionless" (longitudinal wires), because the slightest compression throws off indexing: shifting jumps or lags by a sprocket.
- Brake cable: thicker (1.5 to 1.6 mm), with a round or pear head depending on the lever. Its housing is coiled (wound wire), more flexible but built to take the high tension of braking. This is safety-critical: don't skimp on quality.
Ferrules (housing end caps) and stops also differ between 4 mm (shift) and 5 mm (brake). Buy a kit matched to your setup rather than bulk cable without the right ends. One case worth knowing: compressionless housing also exists for brakes, mainly on mechanical disc where efficiency matters. If you're running it, keep the same type when you replace rather than a plain coiled one.
The symptoms that should get your attention
Rarely a clean failure, more a nuisance that settles in. The typical signs:
- Sluggish or vague shifting: the gear takes a moment to climb, or overshoots on the way back. Often a cable that drags and no longer slides freely in its housing.
- Needing to re-tension at the barrel: you tweak the adjuster more and more often. The cable seems to "stretch" because the housing settles and the cable gets gritty.
- Heavy or gritty lever: at the brake or the shifter, a sandy resistance instead of a clean glide. Water and dirt have got into the housing.
- Fraying: broken strands at the pinch bolt or where the cable enters the lever. A cable starting to fray gets changed without delay. On the brake, that's non-negotiable.
- Rust and a cable that won't return: visible corrosion, or a derailleur/lever that no longer springs back crisply. Friction has taken over.
Dead cable or dead housing: the test that settles it
Here there's no millimetre threshold like a brake pad, but a test that settles it in ten seconds. Unhook the cable from its anchor, pull it out of the housing, and slide it by hand: first bare, then back inside the housing.
- It catches even bare, out of the housing : the cable is dead (rust, mashed strands, a kink). Replace it.
- It slides bare, but catches as soon as it's back in the housing : the housing is dead, even if the cable looks fine.
- Everything slides freely and shifting still lags : it's not the cabling. Check the barrel adjustment, the derailleur hanger, the derailleur itself. Don't re-cable for nothing.
As for the reminder, ChainLog tracks these cables around 5,000 km or 2 years by default. Shorten it sharply in rain, mud or winter, but stretch it without guilt if you ride fair weather with sealed housing: plenty last 10,000 km and more without a hitch. It's a conservative nudge, not an expiry date. Two rules that don't move: always change the cable AND the housing together (tired housing wrecks a fresh cable), and at the slightest doubt on a brake, change it. A brake cable that snaps is a crash, not a nuisance.
Replacing cable and housing, step by step
Budget 30 to 45 minutes per cable with external housing (MTB, gravel, flat bar). On a road bike with a taped drop bar it's longer, and it's THE reason people put it off: re-cabling a brake or shifter means undoing the bar tape. So the logic flips: once the bar is unwrapped, change everything that runs under it in one go rather than one at a time. Keep the old cable alongside as your reference for length and routing.
- 1
Note the routing and lengths
Photograph the run and check the housing lengths before you strip anything. Housing that's too short pulls in the turns; too long and it loops loosely and loses precision.
- 2
Release and free the old cable
Loosen the pinch bolt at the derailleur or caliper, then push the cable to pop the head out at the shifter or lever, and pull it out.
TipOn a shifter, click it to the smallest sprocket (minimum tension) before undoing anything: the cable head releases far more easily. - 3
Cut the new housing to length
Use a proper cable cutter, not regular pliers that crush the end. Cut clean, then reopen the crushed inner hole with a pick and file the face square.
- 4
Fit the ferrules
One ferrule at each end of each housing segment. They seat cleanly in the stops and keep the housing from splaying under tension.
- 5
Route the new cable
Thread the cable through the shifter or lever, make sure the head is seated in its cradle, then slide it through the housing to the anchor. Don't touch the section that runs through the housing with greasy fingers.
TipFor internal routing (cable inside the frame or bar), always thread the new one with the old housing or a guide tube left in place: without a guide, finding the exit inside the frame can turn into a nightmare. - 6
Anchor and tension
At the brake: centre the caliper, leave decent lever free play, tighten the pinch bolt to spec. At the shifter: drop to the smallest sprocket, pull the cable taut by hand without overdoing it, then tighten.
- 7
Index and fine-tune
For shifting, run up and down the whole cassette and correct at the barrel until it shifts cleanly both ways. For the brake, check the wheel spins free and that bite arrives before the lever hits the bar.
- 8
Trim and cap the end
Leave a few centimetres spare, cut, and crimp an end cap so the strands can't fray.
TipA new cable "beds in" over the first few kilometres. Take up the slack at the barrel after a ride or two: that's normal, not a bad install.
Automatic tracking, so it stops catching you out
Cables are the textbook part you forget to watch. They don't wear out suddenly, they don't make a warning noise. You just get used to a bike that answers a little less well.
ChainLog counts kilometres per component and warns you around 5,000 km or 2 years, before shifting turns tedious or a brake cable starts fraying. Not to replace a look (a cable starting to break is visible), but to remind you to check at the right moment.
Just a regular nudge, enough to keep a bike that responds crisply, without getting caught out.